Most chick loss is due to dehydration. It is very important to have the chick area set up with waterers. Use a 1 gallon waterer per 50 chicks. Dip every chick’s beak in the water before turning them loose. Once they have some water they’ll be more likely to find it again and less likely to dehydrate. Table sugar or brown sugar can be added to the water as well. Several water soluble vitamin and electrolyte powders are available to help get chicks off to a strong start. Many chick owners prefer to give antibiotics in the water for the first seven days of life as a preventative measure.
Chicks should eat a commercial chick grower feed for the first eight weeks, according to Murray McMurray Hatchery of Webster City’s website. Do not feed young chicks a “scratch” feed. McMurray‘s also recommends putting newspaper down over litter in the chicken area for the first day to help chicks find the feed. A two-foot feeder should be provided for every 25 chicks.
Use a heat lamp with a 125 or 250 watt bulb to keep the chick area at 90 to 95 degrees F for the first week. After that, reduce the temperature by 5 degrees per week until it gets down to about 70 degrees. The heat lamp should be 1-2 feet above the floor where the chicks are. The temperature will be higher directly underneath the lamp but, as long as the area provides enough space, chicks will find a comfortable spot. Be sure to put something around the chicks to block any draft from chilling them. Either a homemade or commercial draft guard works fine.
Newborn chicks need 1/2 square foot of space each. Increase this space as the chicks grow. After about three to four weeks they will need 3/4 square foot each. From 6 to 12 weeks the chicks will be big enough to require 1 square foot of space each. In addition to providing enough living space, it’s important to avoid handling chicks too much.
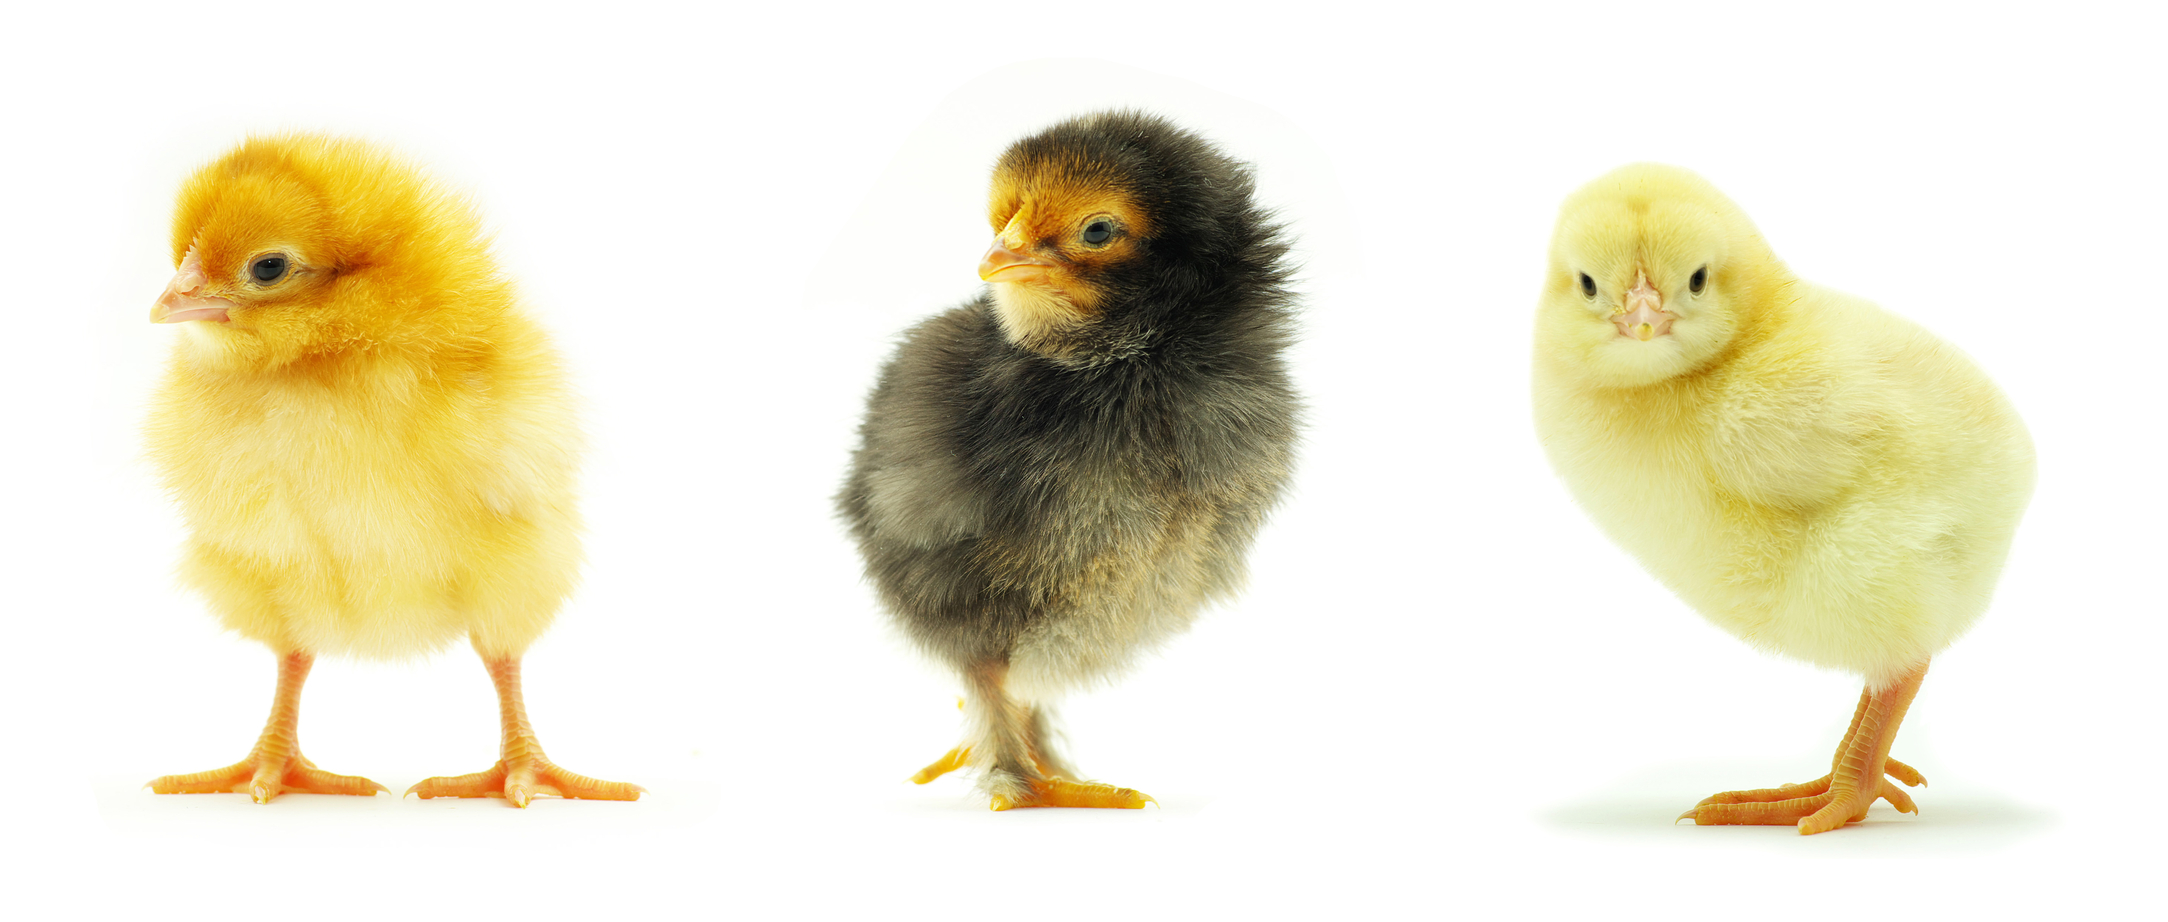
Raising chicks can be a fun springtime activity for the entire family. Follow these basics to keep chicks healthy and have home raised eggs by fall.